Table of Contents
ToggleBathroom storage is always at a premium, whether you’re working with a powder room or a master bath. The wall space above the sink is real estate you can’t afford to waste, and that’s exactly where a bathroom mirror with storage shines. By combining a reflective surface with built-in cabinetry or shelving, these fixtures eliminate the “what do I do with all this stuff?” problem while keeping your bathroom functional and clean. A bathroom vanity mirror with storage works harder than a plain mirror, giving you a place for daily essentials without eating into your floorplan. Let’s walk through why these units make sense, what options exist, and how to pick and install the right one for your space.
Key Takeaways
- A bathroom mirror with storage solves two problems at once—providing a reflective surface and eliminating clutter by maximizing wall space above the sink without consuming floor or counter real estate.
- Medicine cabinets and floating shelves are the two main types of bathroom mirrors with storage; recessed cabinets offer a sleek look but require drywall work, while surface-mounted options install faster on existing walls.
- Proper sizing and positioning are critical: your mirror should match your vanity width (30–48 inches), with its center positioned at eye level (60–66 inches from the floor) for comfort and visual balance.
- Installation success depends on using correct fasteners, locating studs with a level in both directions, and ensuring horizontal and vertical alignment to prevent sagging or misalignment over time.
- Smart organization and regular maintenance extend the life of your bathroom vanity mirror with storage; use vertical shelving zones (rare items on top, daily essentials in the middle, heavier items below) and wipe mirrors weekly to prevent humidity damage.
- Material durability matters in humid bathrooms—solid wood frames need moisture-resistant finishes, while metal frames and glass surfaces are the most water-resistant options for 10–15 years of reliable use.
Why Bathroom Mirrors With Storage Make Sense for Any Home
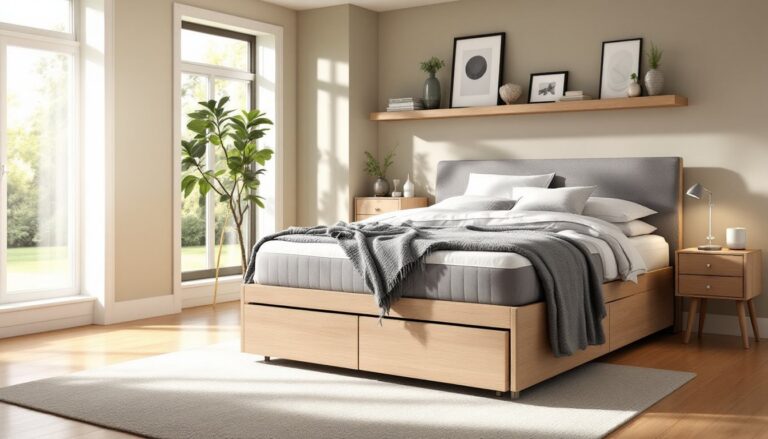
A bathroom vanity cabinet mirror isn’t a luxury, it’s a practical solution that solves two problems at once. Most bathroom sinks sit under dead wall space that either stays bare or holds a standard mirror. By adding storage, you’re maximizing that zone without taking up any additional floor or counter real estate.
Small bathrooms especially benefit from this approach. Instead of hunting for cabinet space elsewhere, your daily items, medications, skincare, grooming tools, stay within arm’s reach and out of sight. A mirror with storage bathroom setup keeps countertops clear, which makes even a tight space feel less cramped. For larger bathrooms, the convenience factor remains just as strong: you’re not running to a linen closet for that hair product or first-aid item.
These mirrors also add visual interest. A well-designed bathroom vanity mirror cabinet becomes a focal point above the sink rather than just functional hardware. The organization benefit is real, too, no more tossing stuff in random drawers and forgetting where it is. Everything has a designated spot, and the closed-door or shelving design keeps dust off your belongings.
Types of Bathroom Mirrors With Storage to Fit Your Style
Medicine Cabinet Mirrors
A medicine cabinet mirror is the traditional approach and still the most popular choice. These units mount directly to wall studs (or require blocking if studs don’t line up with your sink). A recessed medicine cabinet sits partially inside the wall, requiring framing work during rough-in stage: a surface-mounted cabinet hangs on top of finished drywall and installs much faster.
Recessed units look sleek and don’t protrude into your bathroom, which is ideal if counter or floor space is tight. The trade-off: installation requires cutting into drywall and adding backing between studs (typically 2×4 or 2×6 lumber). You’ll also need to run electrical if the cabinet includes interior lighting. Surface-mounted cabinets are easier to install and work with existing walls, but they do project 4–6 inches from the wall.
Interior layouts vary. Some cabinets have a single mirror front with shelves behind: others feature a three-piece mirror (center panel opens to reveal shelves, side panels stay fixed). Finishes range from basic builder-grade plastic to solid wood frames in oak, maple, or paint-grade pine. Quality hardware, hinges and magnetic catches, makes the difference between a unit that feels sturdy and one that wobbles.
Floating Shelves With Mirrors
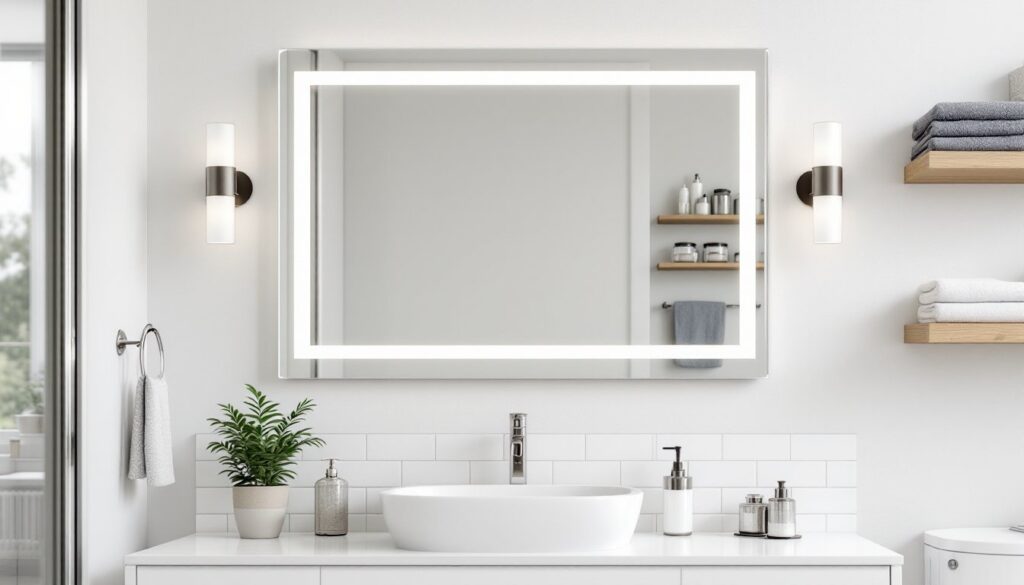
For a more modern, flexible approach, floating shelves paired with a mirror create a contemporary bathroom vanity mirror with storage look. A large mirror hangs above the sink, and 2–3 floating shelves mount to either side or above it. This setup works well in smaller bathrooms because shelves are open, so they don’t feel as visually heavy as a closed cabinet.
Floating shelves require solid mounting: find studs, use quality lag bolts or toggle anchors rated for your expected weight, and secure the bracket into solid wood framing. Each shelf typically holds 15–25 pounds depending on bracket design and mounting method, so don’t overload them. The downside is that open shelves collect dust and require regular tidying, everything’s on display.
Sources like Remodelista showcase high-end floating shelf designs that pair with vintage or modern mirrors for inspiration. IKEA Hackers offers creative ways to customize affordable shelf systems, which is a smart option if you’re working on a budget and want flexibility to adjust or swap out components later.
How to Choose the Right Size and Style for Your Bathroom
Measure your wall space first, not just width, but the distance from countertop to ceiling, and note where studs are located. Most standard bathroom vanities are 30–48 inches wide: your mirror should roughly match that width (within 2–4 inches). Going significantly wider than the sink base looks awkward: narrower leaves wasted wall space.
Height matters too. A mirror shouldn’t sit so high that you’re craning your neck. Position the center of the mirror at eye level when standing at the sink, typically 60–66 inches from the floor for most adults. If you’re mounting a medicine cabinet or floating shelves, ensure the top edge stays at least 6 inches below any ceiling fixtures or crown molding.
Style depends on your bathroom’s existing aesthetic. A sleek frameless mirror suits modern or minimalist decor. Metal-framed mirrors add warmth in traditional or farmhouse spaces. Wood-framed units ground transitional designs. Don’t choose style in isolation: visit showrooms or check resources like Hunker for how mirrors pair with vanities, lighting, and tile.
Material durability is important in a humid environment. Solid wood frames need to be sealed or painted with moisture-resistant finishes. MDF or composite materials are budget-friendly but swell if water gets behind them. Metal frames and glass-only surfaces are the most moisture-resistant options. Check the mirror backing, quality units use waterproof backing on the mirror itself to prevent edge deterioration over time.
Installation Tips and Best Practices
Before you start, gather the right tools: a stud finder, level, drill with bits, tape measure, and whatever fasteners the unit recommends (usually lag bolts or heavy-duty wall anchors). Read the manufacturer’s instructions completely, mirror weights vary widely, and undersized fasteners are a common failure point.
For a surface-mounted medicine cabinet or floating shelves, locate studs using a stud finder and mark them with a pencil. If the cabinet bracket falls between studs, you’ll need toggle anchors or molly bolts rated for the weight, read the packaging carefully. A 50-pound mirror on cheap plastic anchors will eventually sag or pull free.
Use a level in both directions, horizontal and vertical, before driving fasteners home. Even a quarter-inch tilt looks sloppy and bothers you every time you use the mirror. If your sink isn’t centered on the wall, position the mirror to align with the sink, not the wall, it looks intentional that way.
For recessed cabinets, the rough-in work is critical. Frame an opening between studs (or add blocking), and install a nailing flange so the cabinet front edge sits flush with finished drywall. After drywall tape and mud, the cabinet front should align perfectly. Gaps between cabinet and drywall are difficult to caulk neatly, so get the framing right the first time.
If the unit includes interior lighting, do the electrical work before drywall. Run a dedicated 15-amp circuit if possible, don’t tap into an existing outlet load, which might be unsafeor code-violating depending on your jurisdiction. Electrical rough-in varies by local code, so consult a licensed electrician if you’re uncertain. Always turn off power at the breaker before working on any existing circuits, and wear safety glasses when drilling or cutting.
Organizing and Maintaining Your Mirror Storage
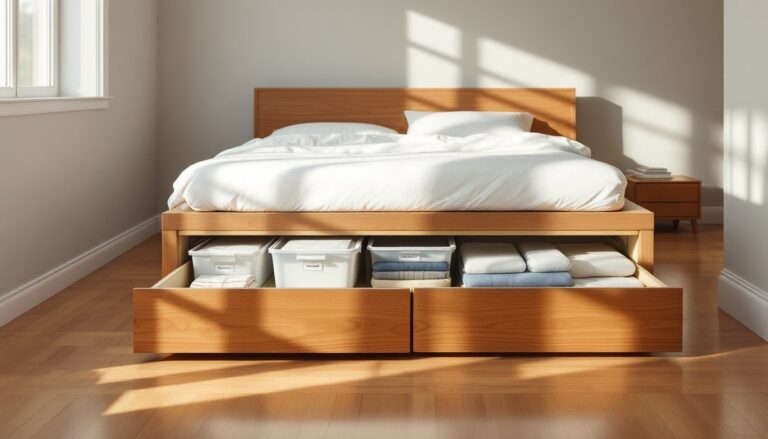
Once your mirror with storage bathroom setup is installed, smart organization keeps it functional. Reserve the highest shelf for items you rarely use, backup bottles, seasonal products, first-aid supplies. Middle shelves hold daily items: toothpaste, deodorant, skincare. Lower shelves or cabinet bottoms suit heavier items like cleaning supplies or hair tools.
Use small bins or drawer organizers to corral loose items and prevent clutter from spilling forward. Clear containers let you see what’s inside and when you’re running low. Labels are worth the five minutes, family members then know where things belong and won’t just dump stuff randomly.
Maintenance is straightforward. Wipe the mirror with a lint-free cloth and glass cleaner every week or two, bathroom humidity and steam leave spots and streaks. Check cabinet hinges every 6–12 months and tighten fasteners if they’ve loosened. If you notice water pooling on shelves, improve ventilation with an exhaust fan or crack a window after showers to reduce humidity.
For wood-framed cabinets, inspect the finish annually. Touch up paint chips or sealed finishes if water exposure starts to show. Moisture is the enemy in bathrooms, keep the space well-ventilated and wipe down shelves if they get damp. Most quality mirrors last 10–15 years with basic care. Budget-oriented units may need replacing sooner, especially if hinges fail or the mirror backing deteriorates.