Table of Contents
ToggleBathroom towel storage cabinets are more than just functional, they’re a game-changer for keeping clutter in check and maintaining a spa-like calm in your daily routine. Whether you’re working with a small powder room or a sprawling master bath, the right towel cabinet transforms chaos into order while adding visual appeal to your walls. This guide walks you through choosing, installing, and styling a bathroom towel storage cabinet that works for your home and fits your DIY comfort level. Let’s jump into what you need to know before making this smart upgrade.
Key Takeaways
- A bathroom towel storage cabinet solves clutter, maximizes vertical space, and transforms your bathroom into an organized, spa-like retreat.
- Choose between wall-mounted cabinets for space-saving bathrooms or freestanding units for rentals and easy repositioning—wall-mounted options range from $150–$800 and require stud anchoring for stability.
- Proper moisture protection is essential: select cabinets with treated or sealed wood finishes, apply water-resistant sealers, and ensure good air circulation to prevent warping in humid bathroom environments.
- Installation success depends on locating studs, using proper fasteners rated for your cabinet’s weight (toggle bolts for drywall, wood screws for studs), and checking alignment with a spirit level before drilling.
- Organize towels by rolling or folding consistently and store less-used items on upper shelves, everyday towels on middle shelves, and bath mats or baskets on lower shelves for easy access and visual appeal.
- Reassess your cabinet seasonally, swap towel weights for the season, and donate damaged towels to keep your storage functional and fresh year-round.
Why Towel Storage Cabinets Matter for Your Bathroom
A dedicated towel storage cabinet solves the eternal bathroom problem: where do clean towels actually live? Without proper storage, towels end up piled on shelves, draped over doors, or stacked awkwardly on chairs. Beyond aesthetics, a good cabinet keeps towels dry, organized, and within arm’s reach.
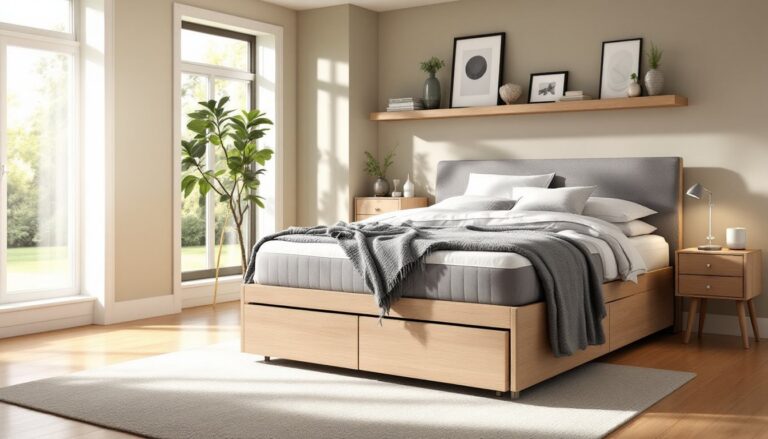
The right cabinet also maximizes vertical space, something most bathrooms desperately need. A wall-mounted or tall freestanding unit pulls storage off the floor, making even small bathrooms feel more open. You’ll also find that designated towel storage reduces the mental load of “where’s the clean hand towel?” on busy mornings.
When selecting your cabinet, think about your actual towel count and how often you do laundry. A family of four might need 12–16 bath towels and 8–12 hand towels in rotation: a single person might keep just 4–6 of each. This directly impacts the cabinet size and shelf depth you’ll need.
Types of Towel Storage Cabinets to Consider
Wall-Mounted Cabinets
Wall-mounted cabinets are the go-to for bathrooms where floor space is precious. These typically measure 18–36 inches wide, 24–48 inches tall, and 8–12 inches deep. Installation requires anchoring into studs (or using heavy-duty drywall anchors if studs aren’t aligned with your preferred location).
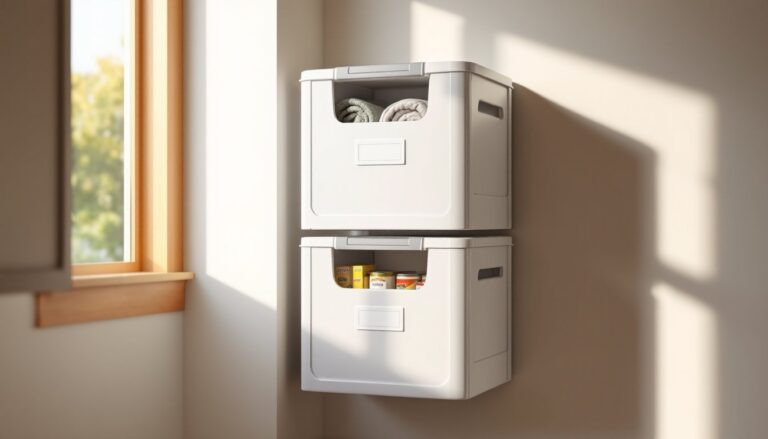
Surface-mounted cabinets sit directly on the wall and are simpler to install, you just need a level, a stud finder, and appropriate fasteners. Recessed cabinets fit inside the wall cavity and create a seamless, built-in look, but they demand careful framing and may require removing tile or drywall. A recessed cabinet works best if you’re already opening walls for other renovations: retrofitting one into an existing tile wall typically requires professional work or significant patience.
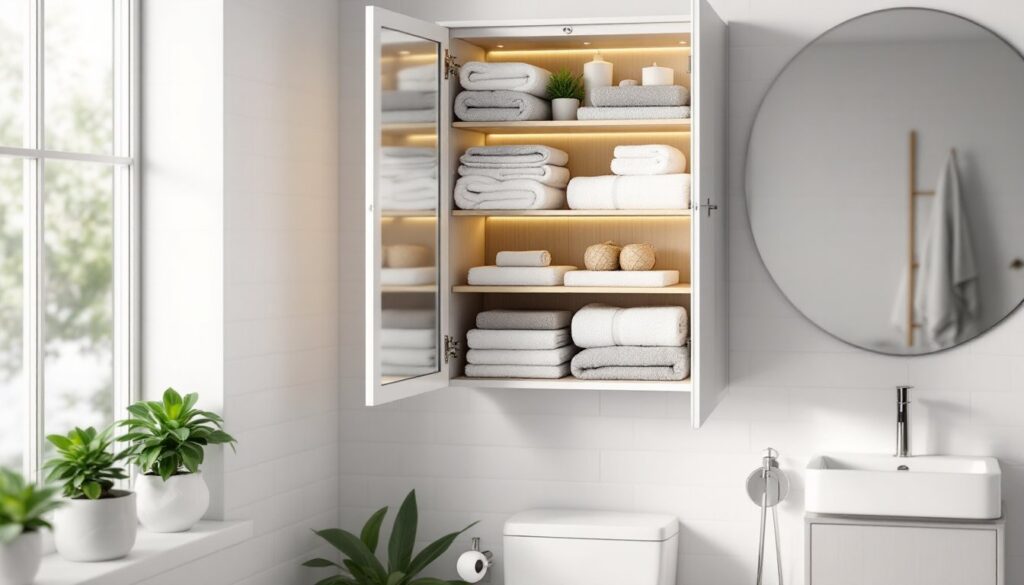
Wall-mounted options often feature mirrored doors, glass shelves, or solid wood fronts. Mirror-fronted cabinets (common in modern bathrooms) pull double duty by expanding your bathroom visually while hiding towel clutter. Open-shelf wall units skirt the cabinet entirely and cost less, though they’re better suited to climates with stable humidity and homes where dust won’t be a constant annoyance.
Freestanding Options
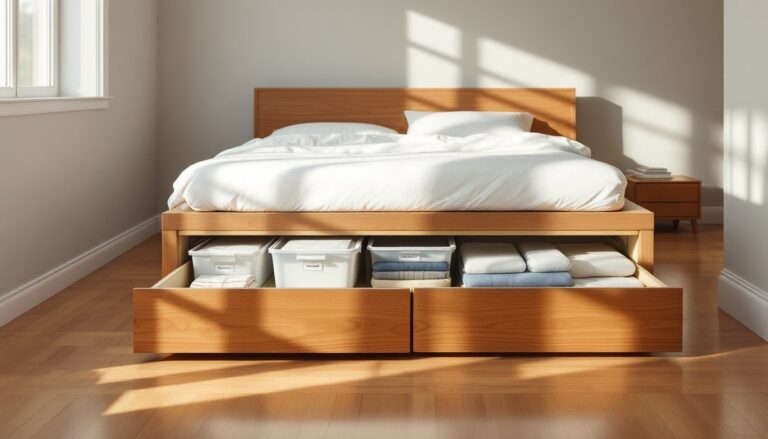
Freestanding towel cabinets sit on the floor and require zero fastening, just place, level, and go. They range from narrow 20-inch-wide towers to 36-inch-wide units and typically stand 60–72 inches tall. This style works especially well in rentals or homes where you can’t drill into walls.
Freestanding cabinets come in wood (the most common choice), metal-and-wood hybrids, and engineered materials. Look for units with a solid back panel and weight distribution that keeps the cabinet stable even when fully loaded: a cabinet over 150 pounds when loaded should ideally be anchored to a wall stud with a furniture safety strap to prevent tipping, a real hazard in households with children or pets.
The downside of freestanding cabinets is that they consume floor space and can make smaller bathrooms feel cramped. But, they’re easier to move if you rearrange your layout, and they don’t require wall prep or installation skills.
How to Choose the Right Cabinet for Your Bathroom
Start by measuring your available space, including width, height, and depth. In bathrooms, you’ll typically want to leave at least 12 inches of clearance in front of the cabinet for comfortable towel access. If you’re installing above a toilet tank, the cabinet should sit at least 12 inches above the tank lid to avoid hitting your head.
Consider moisture and ventilation. Bathrooms fluctuate in humidity, so a cabinet with wood that’s been treated or sealed (like pine, cedar, or engineered plywood with a polyurethane or lacquer finish) will resist warping better than untreated softwood. If your bathroom has poor ventilation (no exhaust fan or window), opt for a cabinet with open sides or ventilated shelving to encourage air circulation.
Think about door style and material. Solid doors hide clutter entirely but can feel heavy: glass or louvered doors provide visibility while looking lighter and modern. Wood doors add warmth. The finish matters too, a glossy or semi-gloss polyurethane will resist moisture better than a flat finish, and darker finishes hide water spots better than light ones.
Budget matters. Wall-mounted cabinets range from $150 to $800 depending on materials and finishes. Freestanding units span $100 to $600. Installation costs (if you hire a pro for drywall repair, stud finding, or leveling) add another $200–$500. If your bathroom has tile walls and you want a recessed cabinet, expect to pay a professional $400–$1,200+ for the work.
Material durability and style should align. Wooden storage cabinets with proper finishing are classic and long-lasting, while laminate or veneer options cost less and resist moisture better but age faster. Projects on Ana White and similar sites offer free DIY cabinet plans if you want to build your own from scratch.
Installation Tips and Best Practices
Prep work is everything. Before hanging a wall-mounted cabinet, locate studs with a stud finder and mark their centers in pencil. Studs are typically 16 inches on center (sometimes 24 inches). If your ideal cabinet location doesn’t align with studs, use heavy-duty toggle bolts or expansion anchors rated for the weight of your cabinet plus towels. Never rely on drywall anchors alone for anything heavier than 25 pounds.
Level matters. A cabinet that’s off by even half an inch will drive you nuts. Use a 2-foot spirit level (or a laser level for wall-mounted work) to confirm both horizontal and vertical alignment before drilling final holes. Mark all fastener locations in pencil, then drill pilot holes slightly smaller than your fasteners to prevent wood splitting or drywall cracking.
For wall-mounted installation: Use appropriate fasteners for your wall type. Stud-mounted cabinets need wood screws (3–3.5 inches long): drywall anchors need to be rated for your cabinet’s weight. Hang the cabinet securely, then adjust shelves according to your towel heights and organization plan.
For freestanding units: Place the cabinet where it will live and use a level to check it’s plumb in both directions. Shim under the feet with thin wood shims if the floor isn’t level. If the cabinet is over 150 pounds or in a high-traffic area, secure it to the wall behind with an L-bracket or furniture safety strap, especially in homes with young children.
Finish protection: If you’re installing in a steamy bathroom, apply a water-resistant sealer to exposed wood surfaces (shelves, interior surfaces, and frames). A polyurethane or polycrylic topcoat adds durability: recoat annually if the bathroom gets heavy use and high humidity. This simple step doubles cabinet life and prevents swelling or warping.
Styling and Organizing Your Towel Cabinet
Organization isn’t just about cramming towels inside, it’s about making them easy to grab and keeping them fresh. Roll or fold towels consistently so they stack neatly and you can see what you have at a glance. Many people roll towels tightly (like a burrito) to maximize shelf space: others fold them into thirds lengthwise and then halves, so the folded edge faces out, this looks cleaner and makes it easier to pull one towel without unsettling the stack.
Use the highest shelves for less-used items: guest towels, seasonal hand towels, or decorative linens. Middle shelves hold everyday bath and hand towels. Lower shelves (or open cubbies) are perfect for bath mats, washcloths, or baskets that corral cleaning cloths. Baskets also hide items you don’t want visible, think of them as drawer dividers for open shelving.
Add a subtle scent by placing a small sachet or linen spray on a lower shelf: it keeps towels fresh without overwhelming the space. Group towels by color (all whites together, all gray, etc.) for a cohesive, luxury-hotel aesthetic. If your cabinet has doors, this visual organization matters less functionally but still makes you feel good when you open them.
For moisture control, ensure air can circulate. Don’t jam towels so tightly that air can’t move between folds. If your bathroom stays damp, crack the cabinet doors slightly overnight or use a small rechargeable dehumidifier packet in one corner of a shelf. Design sites like Remodelista showcase beautiful, organized bathrooms that prove function and style go hand-in-hand. Martha Stewart also offers clever organization hacks that translate well to towel storage and bathroom tidiness.
Finally, reassess seasonally. Swap in lighter linens (thinner towels) in summer and thicker, fluffier ones in winter. Keep one “guest” towel set separate, and donate or repurpose towels that fray, lose absorbency, or develop permanent stains. A well-maintained cabinet stays functional and inviting for years.