Table of Contents
ToggleBathroom clutter has a way of making even spacious rooms feel cramped. Whether you’re dealing with overflowing shelves, counter chaos, or a shoebox-sized bathroom, a storage tower offers a smart vertical solution that doesn’t eat up floor space. Storage towers have become increasingly versatile, from sleek minimalist designs to rustic wood finishes, and many are genuinely DIY-friendly to install. This guide walks you through choosing, installing, and maximizing a bathroom storage tower that actually fits your space and style, plus keeps daily essentials within arm’s reach.
Key Takeaways
- A bathroom storage tower maximizes vertical space without permanent installation, making it ideal for small bathrooms and renters who want flexible, accessible storage within arm’s reach.
- Choose between tall freestanding towers (60–84 inches with 4–6 shelves) or corner towers (60–72 inches) based on your floor space and layout, ensuring your tower height leaves at least 12 inches of clearance below the ceiling.
- Verify weight capacity (typically 25–50 pounds per shelf), check for stability features like crossbraces and adjustable feet, and select materials such as metal-frame or solid wood that suit both your style and bathroom’s moisture levels.
- Assemble your storage tower by laying out all parts first, using a level tool during frame construction, and optionally anchor it to wall studs with L-brackets if you have children or live in a seismic area.
- Organize by category using the rule of thirds—towels, daily toiletries, and cleaning supplies on separate shelf levels—and use stackable baskets and vertical dividers to contain items and prevent moisture-related damage.
Why Bathroom Storage Towers Are a Game-Changer for Small Bathrooms
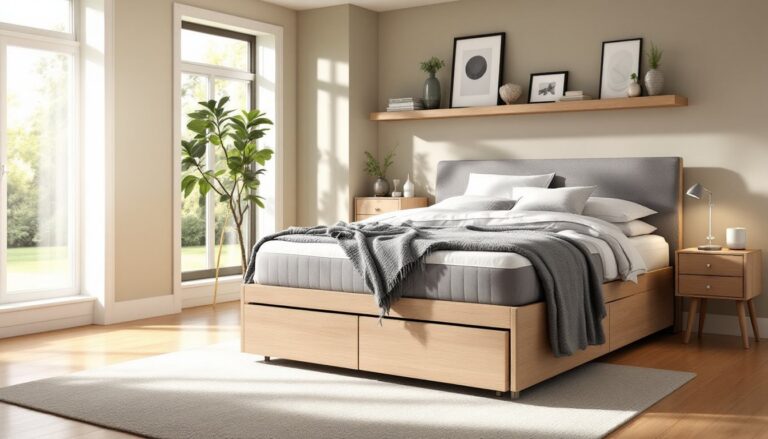
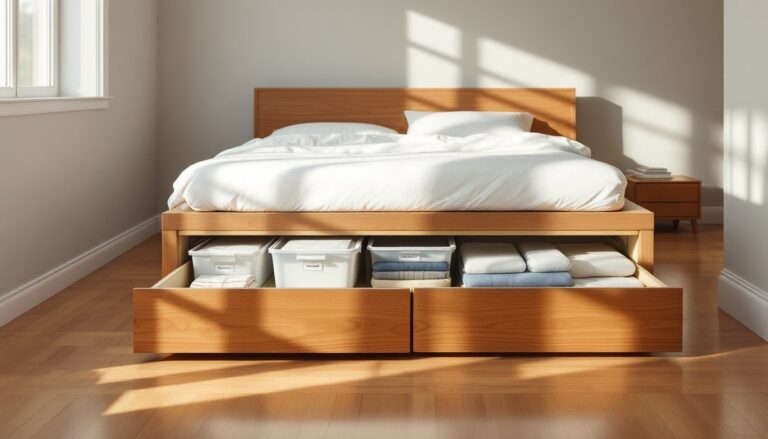
Small bathrooms demand smart vertical thinking, and storage towers do exactly that. Unlike traditional under-sink cabinets or wall-mounted shelves that require studs and anchors, a freestanding tower uses existing floor space without any permanent installation. You gain three to five shelves in roughly the footprint of a small nightstand.
The real advantage? Accessibility. Towels, toiletries, and cleaning supplies sit at eye level or within easy reach on a tower, eliminating the need to rummage through deep cabinets or climb a step stool. Towers also work around existing plumbing and fixtures, a huge win if your bathroom layout is tight around the toilet or sink.
Another practical benefit is flexibility. If you move, renovate, or simply want to reconfigure your space, an unplugged freestanding tower goes with you. You avoid drywall holes, anchors, or the expense of hiring someone to patch walls. For renters or anyone hesitant about permanent modifications, this is a genuine game-changer.
Types of Bathroom Storage Towers to Fit Your Style and Needs
Tall Freestanding Towers
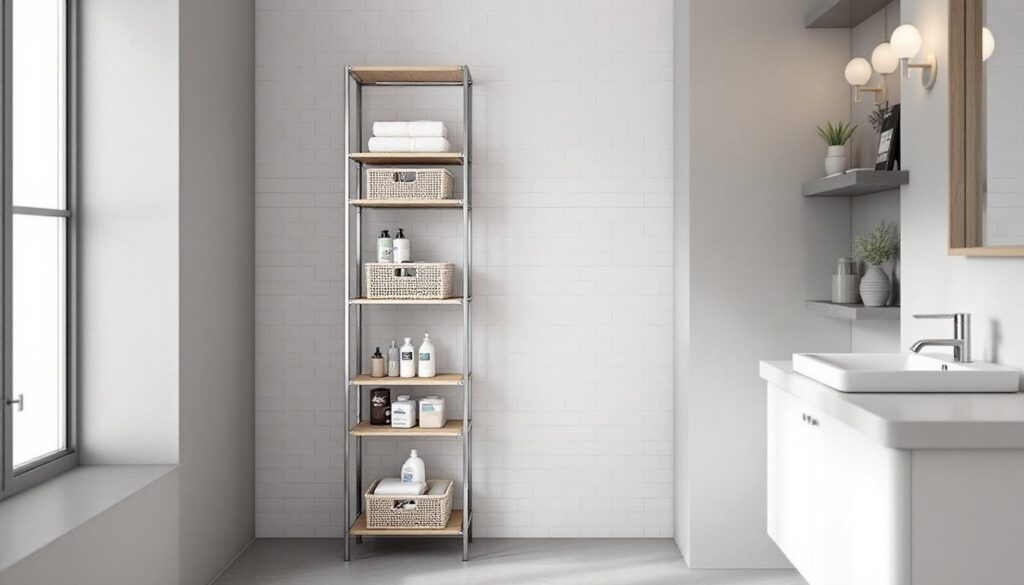
Tall freestanding towers are the most common and flexible option. They typically range from 60 to 84 inches in height and sit directly on the floor, offering four to six shelves. Most are open-shelf designs, no doors or backing, so you see everything at a glance and can grab items quickly. Look for units with a solid base (preferably 16 to 20 inches deep) to ensure stability, especially if you have kids or pets who might lean or bump them.
These towers come in various materials: metal and wood combos, powder-coated steel, bamboo, or solid wood like mahogany or pine. Metal-framed towers with wood shelves offer durability and a modern look, while all-wood towers blend into traditional or farmhouse-style bathrooms. One practical detail: check the weight capacity per shelf, most standard towers hold 25 to 50 pounds distributed evenly, which is fine for towels and toiletries but won’t support a 200-pound adult standing on one.
Corner Storage Towers
Corner towers are purpose-built to fit snugly into a bathroom corner, often reaching 60 to 72 inches tall. They’re ideal if floor space is genuinely tight and you’d rather not sacrifice valuable wall-side real estate. Corner units come with triangular or L-shaped shelves that maximize corner space that typically goes unused.
The trade-off: less total surface area per shelf and slightly awkward access if items get pushed to the far back. But, corner towers shine for stashing less-used items (extra toilet paper rolls, cleaning supplies, seasonal medications) while keeping daily-use items on more accessible shelves. Many IKEA hacks feature corner storage modifications, so you can also customize a basic unit if you enjoy a hands-on approach.
How to Choose the Right Bathroom Storage Tower for Your Space
Start with honest measurements. Measure your bathroom floor space (width and depth), ceiling height, and note any obstacles, toilet tanks, radiators, outlet boxes, or plumbing runs. Your tower height should leave at least 12 inches of clearance below the ceiling for visual breathing room and to avoid bumping your head or knocking items down.
Next, consider what you’re actually storing. Towels, washcloths, and toiletries have different weight and size needs than cleaning chemicals or hair tools. A unit with shelves spaced 10 to 12 inches apart works for folded towels and small bottles: wider shelving (14 to 16 inches) suits larger items. If you store heavy items like bottles of cleaning products or a hair dryer, verify the weight rating, a well-built tower should handle 200 to 400 pounds total, distributed sensibly.
Don’t overlook stability and base design. A tower with a crossbrace or back-support frame is sturdier than one sitting on four thin legs. If your bathroom floor isn’t perfectly level (common in older homes), look for feet with adjustable levelers or consider shims for stability. Material choice matters too: solid wood feels sturdier than particle board, but particle board is lighter and more affordable. Metal-frame towers resist moisture better in steamy bathrooms, whereas untreated wood can warp or mildew over time.
Finally, think style. Your tower should complement your existing fixtures and finish. A sleek tower bathroom storage cart in stainless steel fits a modern bathroom: a wooden tower works better in traditional or cottage-style spaces. Visit a showroom if possible to see options in person, scale and finish can surprise you online.
Installation Tips for a DIY-Friendly Setup
Most freestanding towers arrive flat-packed and require assembly. Before you start, clear a workspace and lay out all parts and hardware, bolts, shelf supports, side panels, and any included tools. Check the instruction manual first: most are straightforward, but quality varies.
Here’s a practical sequence: assemble the frame (usually two vertical side supports connected by horizontal braces), then attach the shelf supports or brackets to the sides. Shelves slide or bolt in last. Use a level tool during assembly to ensure the frame is plumb (vertical): even slight tilts are obvious once it’s loaded with towels.
For freestanding towers, anchoring to the wall is optional but smart if you have young children, live in a high-seismic area, or just want extra security. Use L-brackets or anti-tip hardware (rated for the tower’s weight) mounted to studs at least 12 to 18 inches from the top of the tower. This prevents tipping without making the unit look overly braced. Drywall anchors alone won’t cut it, find studs with a stud finder or the knock-and-listen method.
Once it’s in place, load shelves gradually and test stability before fully stocking it. Place heavier items on lower shelves to maintain a low center of gravity. Avoid overloading any single shelf: spread weight evenly across multiple shelves.
Organization Ideas to Maximize Your Tower’s Potential
A tower’s success depends on smart organization, not just its size. Start with the rule of thirds: dedicate shelves by category, towels on one level, daily toiletries on another, and cleaning or backup supplies on lower shelves out of immediate sight.
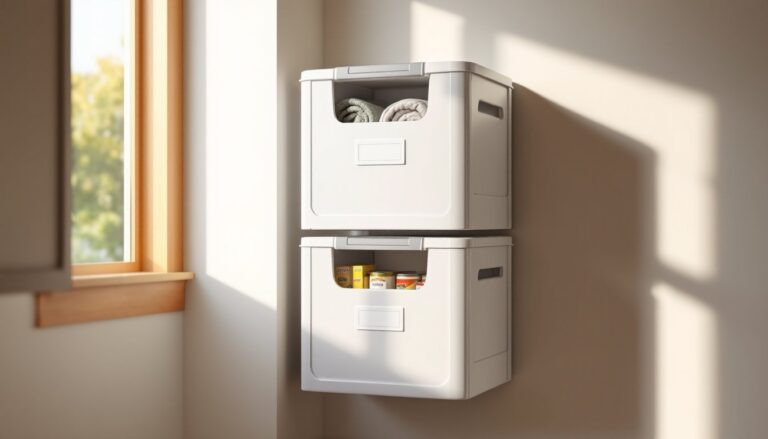
Use stackable baskets or bins (woven, plastic, or metal) to group smaller items and contain clutter visually. A 12-inch-wide basket fits most shelf widths and keeps cotton swabs, hair clips, and medications corralled. Label baskets if multiple people share the bathroom: it saves rummaging and encourages returning items to the right spot.
For towels, fold and stack them for a tidy look (folding rather than rolling saves space). Rolled towels work if your shelves are narrow: stacked towels look cleaner and are easier to grab. Keep everyday towels within arm’s reach: guest towels or seasonal linens can go higher or toward the back.
Don’t forget vertical dividers for upright storage. A simple tension rod or a small wooden dowel across a shelf creates slots for holding binders, notebooks, or upright bottles. This prevents items from toppling and makes use of otherwise wasted vertical height within a shelf.
Consider your bathroom’s humidity. Open shelves expose items to moisture, so rotate stock occasionally and wipe down shelves monthly to prevent mildew. A small fan or dehumidifier running during or after showers helps, especially in a poorly ventilated space. For moisture-sensitive items (certain medications, paper products), keep them in airtight containers. Applying Martha Stewart’s home organization principles means labeling, grouping, and rotating seasonal items, discipline that pays off in daily convenience.