Table of Contents
ToggleA well-organized workshop isn’t a luxury, it’s the foundation of efficient, safe work. Whether you’re tackling a weekend deck project or restoring vintage furniture, craftsman tool storage that actually works saves time, prevents damage to your tools, and keeps your workspace functional. Too many DIYers waste hours hunting for a 5/16″ wrench buried under sawdust or discovering that moisture has rusted their chisels. The right storage system eliminates that friction. This guide walks you through practical solutions, from wall-mounted pegboards to custom cabinets, that fit different budgets and workshop sizes, so you can focus on building, not organizing.
Key Takeaways
- Craftsman tool storage systems improve workshop efficiency by 10–20% and eliminate time wasted hunting for misplaced tools.
- Organize tools using the 80/20 principle: store the 20% of frequently-used core tools at eye level or chest height, and reserve lower-accessibility storage for seasonal or specialty items.
- Wall-mounted pegboards, magnetic strips, and tool chests each serve different needs—pegboards offer visibility, chests provide security and weather protection, and portable caddies enable flexibility for multi-location projects.
- Budget-friendly alternatives like repurposed filing cabinets, wooden pallets, and DIY magnetic surfaces deliver effective craftsman tool storage at 40% less cost than commercial systems.
- Proper storage protects your tool investment from rust and damage, improves workplace safety by reducing tripping hazards, and maximizes limited workshop space through vertical and wall-mounted solutions.
Why Proper Tool Storage Matters
Lost tools cost money and time. A missing screwdriver forces a trip to the hardware store: a set of chisels left exposed to humidity can be worthless within months. Proper craftsman tool storage protects your investment and extends tool life dramatically.
Beyond preservation, good storage improves workflow. When every tool has a designated spot, you work faster and safer. You’re not scrambling for the right wrench mid-project, and you’re not tripping over clamps scattered across the floor. Studies on workshop efficiency consistently show that organized spaces reduce project time by 10–20% because you spend less time searching and more time building.
Safety is equally critical. Hand tools, power tools, and small fasteners stored haphazardly create tripping hazards and risk dropping items from shelves. Storing tools at chest height or lower (and away from high-traffic areas) keeps your workspace safer for you and anyone else in the shop.
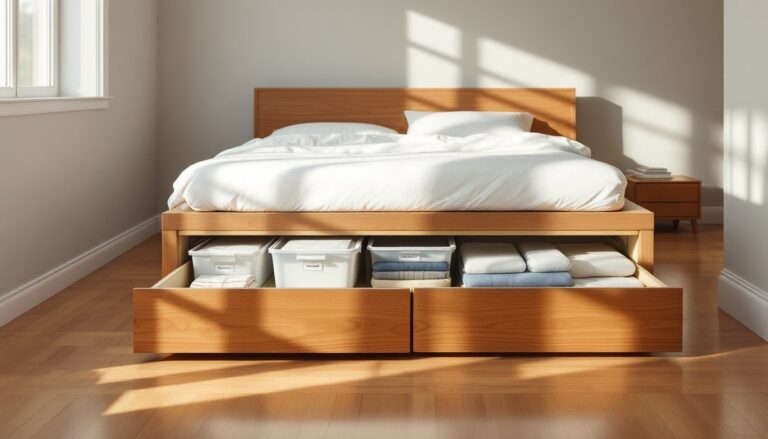
Finally, organized storage maximizes limited space. A garage or corner workshop has finite square footage. Smart vertical storage, pegboards, wall-mounted cabinets, and overhead racks, frees up floor space for your actual projects instead of tool clutter.
Essential Tool Storage Solutions for Any Workshop
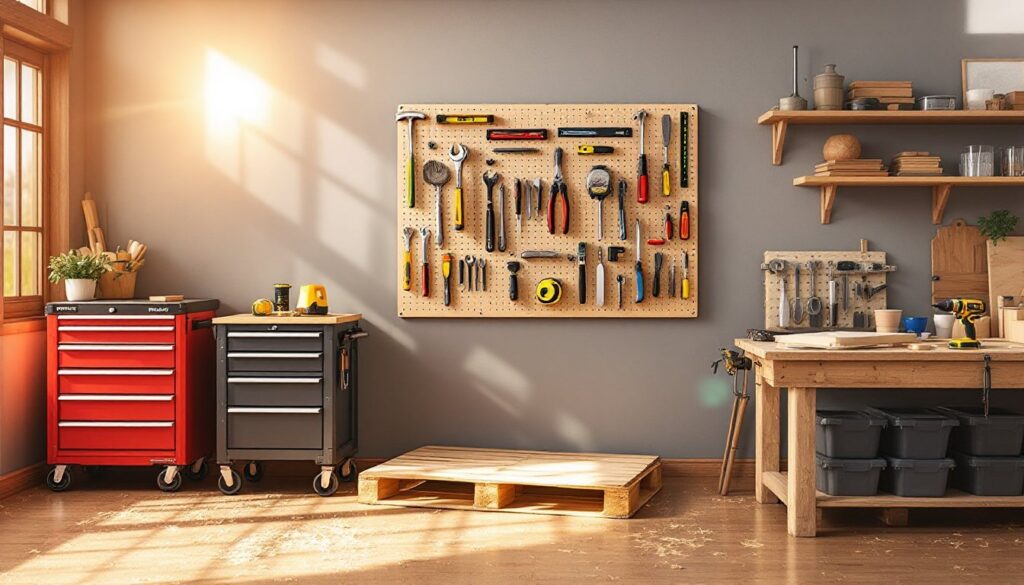
Wall-Mounted Pegboards and Magnetic Strips
Pegboards are the workhorse of DIY tool storage. A sheet of 1/4-inch pegboard (typically 4 feet wide by 8 feet tall) mounted 16 inches off the floor to accommodate tall items keeps frequently used hand tools visible and within arm’s reach. Pair it with steel or plastic peg hooks (usually 1/4-inch diameter) that match your tool handles.
Magnetic strips work alongside pegboards or alone for metal hand tools, hammer heads, chisels, and metal rules stick securely without hooks. Mount 3/4-inch magnetic bars horizontally at eye level, spaced 18–24 inches apart. They’re especially useful above benches where you’re actively working. One caveat: magnets don’t hold plastic handles well, so reserve them for metal-bodied tools.
Both systems excel at visibility. You see at a glance what you have and where it lives. Installation requires studs or heavy-duty anchors (toggle bolts or molly bolts for drywall). If your workshop is in an unheated garage, use exterior-grade pegboard or finish interior pegboard with a moisture-resistant primer to prevent warping.
Tool Chests and Portable Cabinets
Traditional tool chests, whether a metal craftsman-style chest or a modern rolling cabinet, consolidate tools in one lockable unit. A 24-inch wide rolling tool chest with five drawers (approximately 18 inches deep) holds hundreds of tools and sits against a wall without consuming much floor space. The ball-bearing drawer slides are non-negotiable: they ensure smooth operation even when fully loaded with heavy items like socket sets or power drills.
For smaller workshops or renters, a portable tool bag or caddy (canvas or heavy-duty plastic, 18–24 inches wide) lets you move tools from one project area to another without permanent installation. These work well for hand tools and smaller power tools but aren’t ideal for heavy equipment.
Tool chests and cabinets offer weather protection and security. Metal construction shields tools from dust, humidity, and accidental damage. Lockable designs keep hand tools and power tools out of reach from curious kids or pets. The trade-off is accessibility: you’re opening drawers rather than grabbing from a visible pegboard, so reserve deep storage for seasonal tools or backup items you don’t reach for daily.
Organizing by Frequency and Project Type
The golden rule of workshop organization is the 80/20 principle: 20% of your tools account for 80% of your work. Identify your core tools, the ones you reach for in almost every project, and store them at eye level or chest height in high-visibility locations.
For a typical woodworking or general repair setup, core tools include a hammer, a set of screwdrivers (Phillips and flathead in 2–3 sizes), adjustable wrenches, a tape measure, a level, and a drill. These live on your pegboard or magnetic strip within arm’s reach of your main workbench.
Secondary tools, specialty chisels, socket sets, caulking guns, or a [weatherproof storage solution for outdoor gear, go in a tool chest or labeled bins at slightly lower accessibility. Group related items: all fasteners together, all measuring tools in one drawer, all finishing supplies in another. Clear labeling is essential: use painter’s tape and a permanent marker or printed labels (a label maker saves time if you’re organizing more than a few categories).
Rotating seasonal tools, a snow shovel, chainsaw, or oscillating sander you use once or twice yearly, benefit from dedicated high shelving or a back corner cabinet. They don’t consume prime real estate and stay out of the way until needed.
Project-specific storage also matters. If you frequently build raised garden beds, store your pocket hole jig, drill bits, and wood finish together in one [portable tool caddy or clearly marked bin. This approach reduces setup time when you’re ready to start work.
Budget-Friendly DIY Storage Ideas
Not everyone has $500 for a rolling tool chest, and that’s fine. Budget-conscious builders create effective storage with repurposed or low-cost materials.
Recycled materials: Old filing cabinets, wooden pallets, and salvaged shelving become tool storage with minimal investment. A metal filing cabinet ($20–30 used) holds a surprising number of hand tools if you add cardboard dividers. Wooden pallets, free or cheap at construction sites, mount to studs with 2-inch lag bolts and create instant open shelving for bins and caddies.
Pegboard alternatives: Instead of a commercial pegboard, nail or screw 1×6 or 1×8 lumber to studs with 3-inch screws, spaced 16 inches apart (to hit studs). Drill holes and insert dowels or hooks (1/4-inch diameter) for hanging. Paint or stain the wood to match your space. This custom setup costs 40% less than a finished pegboard kit.
Magnetic surfaces: A sheet of steel or galvanized metal (24 inches by 36 inches) mounted on the wall with heavy-duty construction adhesive or screws creates a magnetic tool holder for a fraction of a commercial magnetic strip’s cost. Thrift stores sometimes carry old metal shelving or cabinet doors, clean them and repurpose them.
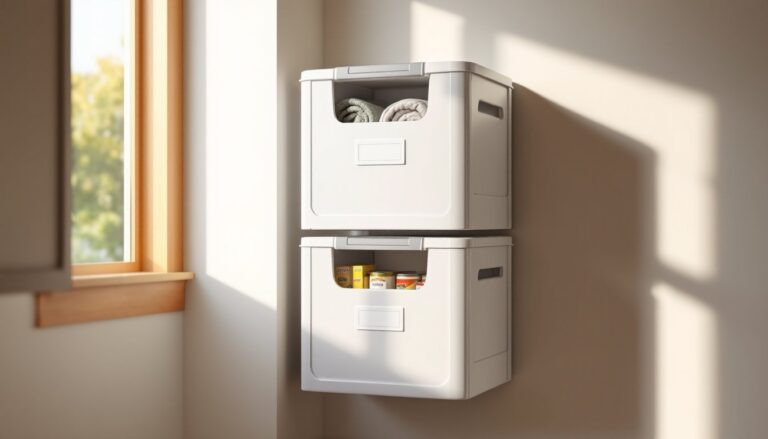
Drawer dividers and bins: Clear plastic organizer bins (stackable, $3–8 each) sort fasteners, bits, and small items. Wooden scrap blocks or cardboard cut to size create custom drawer dividers inside an old tool chest or wooden crate.
When building or repurposing, remember safety: use wall anchors appropriate to your wall type (drywall anchors, toggle bolts, or masonry fasteners), and never exceed the weight capacity of shelves or mounting hardware. An overstuffed pegboard or cabinet can pull away from studs and create a hazard.
For outdoor storage or damp garages, a few waterproofing touches go a long way. Paint wood storage with exterior-grade finish, line the bottom of metal cabinets with rubber shelf liner to reduce moisture contact, and store tools with silica gel packets or a small dehumidifier nearby to prevent rust.
Conclusion
Smart tool storage isn’t about perfection or aesthetic magazine spreads, it’s about functionality and protecting your equipment. Start with one solution (a pegboard, a small chest, or a bin system) and expand as your collection grows. Organize by frequency, secure everything safely, and leave room to adapt as your projects evolve. A well-organized workshop pays for itself the first time you grab the exact tool you need without hunting, and your tools will last decades instead of years. Whether you’re following woodworking plans on Instructables or tackling repairs from Family Handyman’s tutorials, having your tools ready means more time building and less time organizing.