Table of Contents
ToggleYour entryway is the first thing you and your guests see when stepping through the door, yet it’s often a chaotic dumping ground for shoes, coats, and clutter. An entryway bench with shoe storage and hooks solves this problem head-on by combining seating, organization, and style in one hardworking piece. Whether you’re a first-time homeowner tired of tripping over sneakers or a seasoned DIYer ready for a weekend project, a well-designed bench becomes an instant functional anchor for your space. This guide walks you through styles, placement strategies, and a straightforward assembly approach to build or install a bench that actually gets used.
Key Takeaways
- An entryway bench with shoe storage and hooks combines seating, organization, and style to eliminate clutter while creating a functional landing zone for your home.
- Choose a bench size between 42–60 inches wide and 18–20 inches deep, positioned along the wall away from traffic to maximize both accessibility and usable entry space.
- Effective organization requires multiple strategies: open cubbies for frequently worn shoes, closed storage for off-season pairs, and at least 4–8 staggered hooks spaced 12–18 inches apart.
- A well-designed entryway bench with proper storage appeals to potential buyers and signals thoughtful home design, making it a smart investment for resale value.
- DIY assembly is a manageable weekend project with basic tools; however, professional help for wall mounting to studs ensures safety and prevents future sagging under weight.
Why Entryway Benches With Storage Are Game-Changers for Your Home
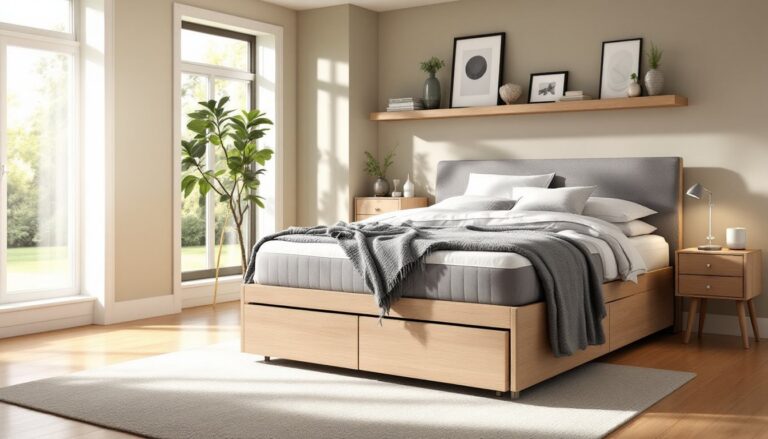
An entryway bench with integrated storage isn’t just a luxury, it’s a practical solution to one of the most common pain points in any home. Before shoes pile up on the floor and jackets drape over chairs, a bench with cubbies, open shelves, or closed cabinets gives everything a designated spot.
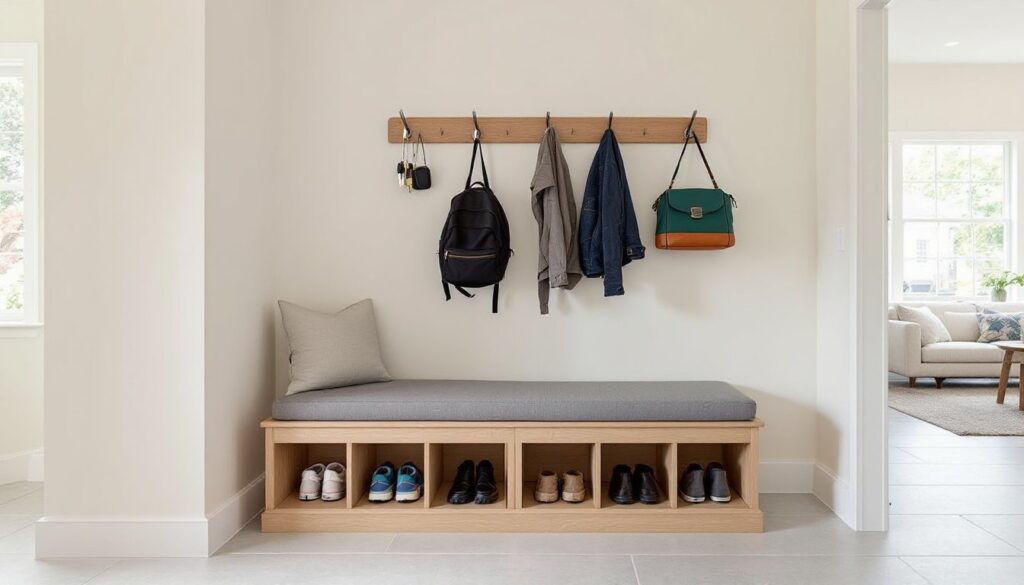
Beyond organization, a bench with hooks transforms your entryway into a functional zone that actually works. Hooks keep backpacks, keys, and bags within arm’s reach as you walk in or out. Many homeowners report that clutter drops significantly once a proper landing zone exists. Kids can sit while tying shoes, adults can perch while changing footwear, and guests have a place to set packages.
From a resale perspective, entryways with organized storage appeal to buyers. Buyers notice whether a home feels put-together at first glance. A bench signals that the homeowner values function and thoughtful design. If you’re planning to move in five years, this is a smart investment that often pays dividends.
Key Styles and Materials to Consider
Your entryway bench doesn’t have to match one rigid aesthetic. The best choice depends on your home’s existing style, your entryway dimensions, and how much storage capacity you actually need.
Modern and Contemporary Options
Modern benches typically feature clean lines, minimal ornamentation, and a mix of materials. A white or gray upholstered seat with sleek wooden or metal legs works well in minimalist spaces. Look for benches with open shelving beneath the seat rather than traditional closed cabinets: open shelves feel less bulky and let you display attractive baskets or cubbies for shoe storage.
Contemporary designs often blend wood with metal hardware, stainless-steel hooks, brushed-nickel handles, or black powder-coated frames. These materials are durable and hide wear better than paint alone. If you choose a light wood like pine or birch, pair it with darker metalwork to create visual contrast without clashing.
Rustic and Traditional Designs
Rustic benches embrace solid wood, visible joinery, and a weathered or stained finish. Reclaimed wood or distressed finishes give character, especially in farmhouse or cottage-style homes. A traditional entryway bench often includes a high back for coats and higher-set hooks positioned at varied heights for family members or guests.
For rustic storage, closed cabinets or enclosed cubbies keep clutter hidden while maintaining a cozy, lived-in feel. Wrought-iron hooks or vintage-style brass hardware complement warm wood tones. If the entryway has crown molding or paneling, a bench with similar detailing ties the room together.
Maximizing Space: Layout and Placement Tips
A beautiful bench installed in the wrong spot becomes a traffic hazard and defeats its purpose. Before purchasing or building, measure your entryway carefully and consider how traffic flows.
Standard entryway bench dimensions typically range from 42 to 60 inches wide, 18 to 24 inches deep, and 30 to 36 inches tall for seating. If your entryway is narrow (under 60 inches total width), a bench under 42 inches wide prevents bottlenecking. Depth matters too, a deep bench eats into your entry space, but a 16-inch depth feels cramped for sitting. Aim for 18 to 20 inches.
Placement depends on your entry layout. If you have a dedicated foyer or mudroom, place the bench perpendicular to the entry door so people can pass and sit without blocking the threshold. If the entryway opens directly into a living room, position the bench along the wall furthest from the main door traffic pattern. This keeps the throughway clear while keeping the bench accessible.
Consider ceiling height and wall space above the bench. Hooks should sit 60 to 72 inches above the floor for typical adult reach, with lower hooks (48 to 54 inches) for kids. If your entryway has a window, avoid blocking natural light. If there’s an electrical outlet, confirm your bench won’t cover it before assembly.
Functional Organization: Making the Most of Shoe Storage and Hooks
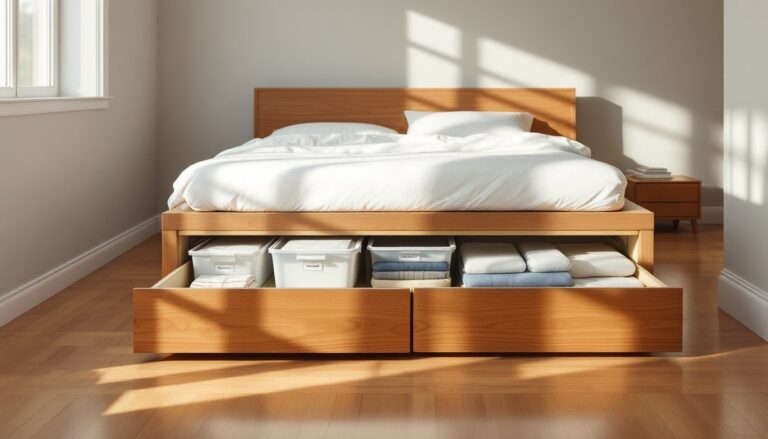
Storage layout is where an entryway bench earns its place. The best designs use multiple strategies: open cubbies for frequently worn shoes, closed storage for off-season footwear, and hooks for everyday accessories.
For shoe storage, open cubbies (roughly 12 inches wide by 8 inches tall per slot) work well for most adult shoe sizes. Sloped shelves or tilted cubbies prevent shoes from sliding forward and maximize visibility. If you have six or more family members, closed cabinets below the seating surface hide excess pairs while keeping the visual impact minimal. Label each cubby with names or season to prevent the “where’s my other shoe” debate.
Hooks are your entryway bench’s best friend. Install a minimum of 4 hooks if you’re living alone, and at least 8 if you have a family. Space hooks 12 to 18 inches apart horizontally and stagger heights, some at 54 inches for kids, others at 66 inches for adults. Use sturdy hooks rated for 5 pounds minimum per hook: this prevents sagging under heavy coats.
Consider hook style: traditional brass or wooden dowel hooks suit rustic designs, while minimalist metal hooks work in modern spaces. Home storage hooks are available in countless finishes, so match your existing hardware or create an intentional contrast.
DIY Assembly and Installation Guide
Building or installing an entryway bench is a manageable weekend project for most DIYers with basic tools and intermediate skill.
Materials You’ll Need:
• Pre-made bench kit or hardwood lumber (pine, oak, or birch: 1x lumber for shelving, 2x for structural supports)
• Exterior wood screws (1.25 to 2.5 inches, coated or stainless-steel to prevent rust)
• Wood glue, wood filler, and sandpaper (80, 120, 180 grit)
• Primer and paint or stain
• Upholstery fabric and cushion (optional)
• Wood wall anchors and screws for mounting to studs
• Hooks, handles, and mounting hardware (rated for 5+ pounds per hook)
Tools Required:
• Miter saw or circular saw for cutting
• Drill-driver with bits
• Level (24-inch minimum)
• Stud finder
• Measuring tape, pencil, carpenter’s square
• Safety gear: eye protection, work gloves, dust mask
Assembly Steps:
- Measure and mark. Mark the wall stud locations using a stud finder. Mark the intended bench height with a pencil line: typically 16 to 18 inches from the floor.
- Pre-assemble the frame. If using a kit, dry-fit pieces to confirm alignment before gluing. For custom builds, assemble the bench frame (sides, front, back) on a flat work surface using wood glue and screws.
- Sand and finish. Sand the entire assembly to 180 grit to remove splinters and rough edges. Apply primer, then paint or stain. Two coats typically provide best coverage.
- Mount to wall studs. Locate the two studs closest to your bench position. Use 3-inch wood screws through the bench back into the studs (use washers to prevent pulling through). Fasten with at least 4 screws.
- Install shelves and cubbies. Use shelf pins, dados (groove-and-rabbeted joinery), or adjustable shelf brackets. Space them to match your shoe dimensions.
- Mount hooks and hardware. Use a level to mark hook positions. Install into studs when possible: if not, use heavy-duty drywall anchors rated for 25 pounds. Test hooks with a pull before loading them.
- Add cushion and accessories. If adding a seat cushion, choose outdoor-grade foam (more durable than standard upholstery foam). Staple fabric to the underside and secure the cushion with adhesive or screws.
Safety reminders: Wear eye protection when cutting and drilling. Ensure the wall studs are secure before mounting. A loaded bench anchored to drywall alone may pull away over time. If you’re not confident locating studs or don’t have the required tools, hiring a handyman for wall mounting is money well spent. Many DIYers successfully build the bench itself but use professional help for wall fastening.
For step-by-step visual guides, Instructables and The Handyman’s Daughter both host detailed woodworking tutorials. If you prefer ready-made plans, Ana White’s entryway bench design includes free downloadable schematics.