Table of Contents
ToggleKitchen clutter isn’t just unsightly, it kills efficiency and wastes counter space you probably don’t have in the first place. Whether you’re dealing with a galley kitchen or a sprawling cook’s space, kitchen storage racks offer a practical way to corral everything from spices and cookbooks to pots and cutting boards. Unlike bulky cabinets or permanent shelving, racks are flexible, often affordable, and can be installed in an afternoon. This guide walks you through the types of racks available, how to pick the right one for your kitchen, and how to install it properly.
Key Takeaways
- Kitchen storage racks maximize vertical wall and corner space, offering an affordable and flexible alternative to bulky cabinets that can be installed in an afternoon without permanent renovation.
- Wall-mounted, over-the-door, and freestanding kitchen storage racks each serve different needs—choose based on your available space, weight requirements, and whether you rent or own your home.
- Proper installation requires measuring dimensions twice, locating wall studs for weight-bearing racks, using appropriate anchors (toggle bolts or molly bolts for drywall), and checking stability before full loading.
- Open kitchen storage racks keep items visible and accessible, preventing duplicate purchases and improving efficiency by eliminating the need to hunt through multiple cabinet shelves.
- Consider your kitchen’s style, storage inventory (spices, cookware, plates, books), weight capacity, and budget ($15–$400+) before selecting the right rack type to avoid costly returns and installation mistakes.
Why Kitchen Storage Racks Are Essential for Home Organization
A kitchen storage rack solves a problem that every homeowner faces: vertical space that sits empty while counters and cabinets overflow. Racks maximize that unused real estate, walls, corners, inside cabinet doors, without requiring renovation or a hefty investment.
They’re also honest about what they do. Unlike decorative baskets or closed cabinets, racks keep your essentials visible and accessible. You see what you have, grab what you need, and put it back. No more hunting through three cabinet shelves for the baking sheets. This visibility also prevents you from buying duplicates you forgot existed.
For kitchens with limited cabinet space, small homes, apartments, or older houses with original cabinetry, racks fill the gap between what you have and what you need. They’re also gentler on your walls than permanent shelving because most are either adhesive-backed or use standard wall anchors. Finally, when you move or renovate, racks come with you.
Types of Kitchen Storage Racks and Their Best Uses
Not all racks are created equal. Understanding the main categories helps you match the right rack to your kitchen’s layout and your storage needs.
Wall-Mounted and Over-the-Door Racks
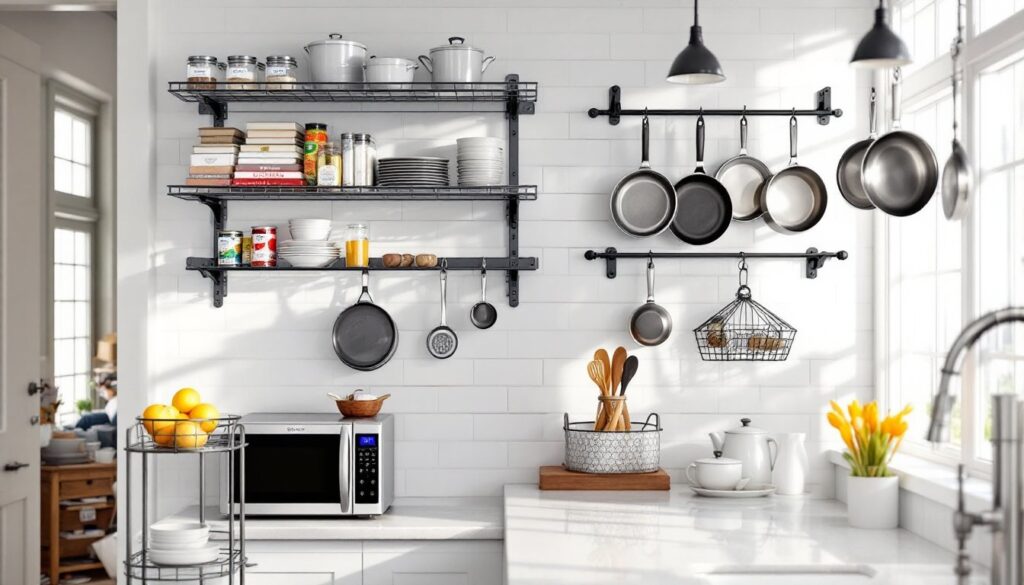
Wall-mounted racks are fixed directly to studs or to the wall using anchors, and they come in several flavors. Spice racks mount shallow shelves, usually 4–6 inches deep, perfect for jars, small bottles, and packets. Pot racks hang from a rail system and hold cast iron, stainless steel, or enameled cookware: many accommodate 4–6 larger pots. Open shelving racks offer more depth (8–12 inches) and can hold plates, bowls, glasses, or cookbooks.
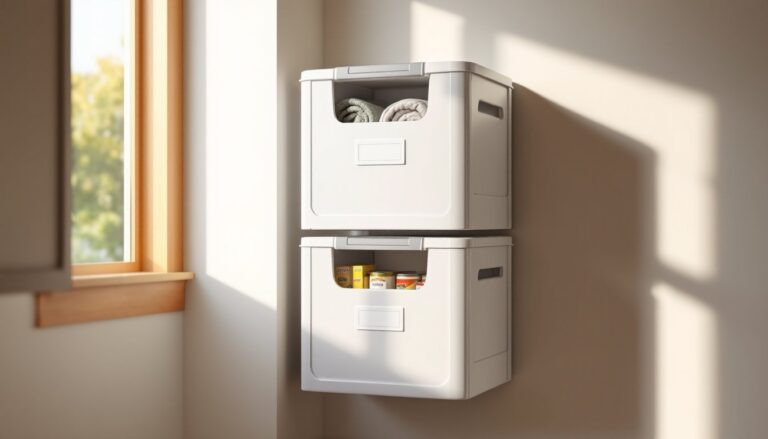
Over-the-door racks hook onto the top of a cabinet door (no drilling required) and are ideal for tight spaces. They work best for lightweight items, spices, oils, vinegars, or small utensils. The trade-off: they swing out when the door opens, and they can make doors slightly harder to close smoothly if overstuffed.
Wall-mounted racks require drilling into studs or using heavy-duty anchors (toggle bolts or molly bolts work best in drywall). They’re permanent-looking and support more weight than over-the-door options. Popular materials include stainless steel (durable, food-safe, rust-resistant), powder-coated metal (colored, more affordable), and chrome (sleek but fingerprint-prone).
Freestanding and Corner Racks
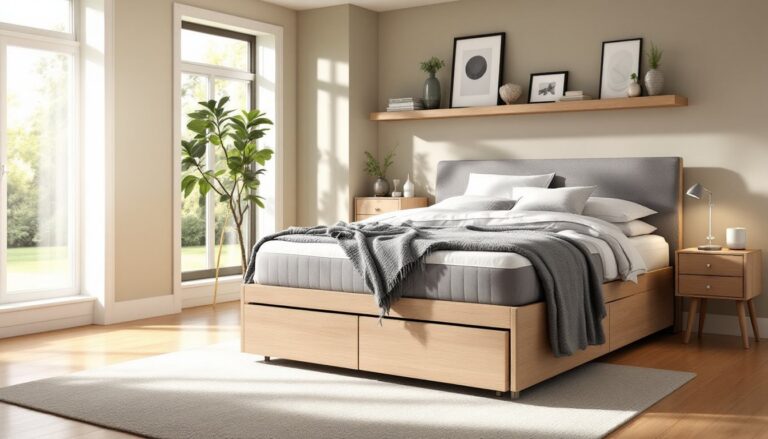
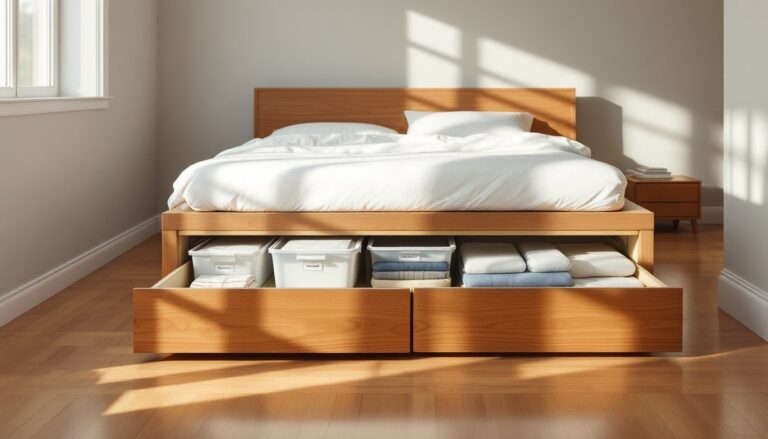
Freestanding racks don’t attach to walls or doors. They sit on the floor or countertop and are perfect if you rent, want to avoid drilling, or simply need flexibility. Microwave carts (usually metal frames with shelves) fit under counters and hold appliances, mixing bowls, or canned goods. Rolling carts add mobility: wheels let you push the rack where it’s needed.
Corner racks exploit dead space where two walls meet. Kitchens often waste corner area because standard cabinetry is hard to access there. A corner shelf rack or corner ladder rack (shaped like angled shelves) gives you 3–4 usable tiers without requiring elaborate plumbing or electric work. Materials and dimensions vary widely, so measure your corner before buying.
How to Choose the Right Kitchen Storage Rack for Your Needs
Start by measuring your kitchen. Identify wall space, corner space, above appliances, and inside cabinet doors. Write down dimensions (height, width, depth) in both locations. A common mistake is assuming a rack will fit because it looks right online, photos don’t show cramped counters or low-hanging cabinets.
Next, inventory what you’re storing. Are you organizing spices, pots, plates, cookbooks, or a mix? Lighter items (spices, oils) can hang on over-the-door or adhesive racks. Heavier loads (cookware, canned goods) demand wall-mounted racks anchored into studs or sturdy freestanding units. Check the weight rating on the product label: don’t guess.
Consider your kitchen’s style and your tolerance for visible clutter. Open racks expose everything, great for a farmhouse or industrial aesthetic, less so if you prefer a minimalist look. If you want items hidden, a wall-mounted cabinet with glass doors or a wooden storage cabinet with doors and shelves might suit you better than a bare rack.
Budget matters too. Over-the-door racks run $15–$50. Wall-mounted racks cost $30–$200+ depending on material and size. Freestanding carts range from $50–$400. Factor in hardware (anchors, brackets, screws) if you’re buying separately, not as a kit. Finally, measure twice, order once. Returns from small retailers or marketplaces can be a hassle.
Installation Tips and DIY Setup Guide
Installation difficulty depends on the rack type. Over-the-door and adhesive-backed racks are quickest, no tools beyond a measuring tape and level. Wall-mounted racks demand more care but are still a Saturday-morning project for most DIYers.
Wall-Mounted Installation:
- Use a stud finder to locate wall studs (usually 16 inches apart). Mark them with a pencil. Drilling into studs is always the safest bet for weight-bearing racks.
- If studs don’t align with your desired rack location, use toggle bolts or molly bolts rated for the weight you’re hanging. Standard drywall anchors (plastic or expanding types) work for light loads under 20 pounds.
- Hold the rack bracket against the wall and use a level to ensure it’s plumb (vertical) and level (horizontal). Crooked brackets look unprofessional and stress the hardware.
- Mark mounting holes with a pencil through the bracket holes. Remove the bracket temporarily.
- Drill pilot holes slightly smaller than your screws or bolts. This prevents drywall from crumbling and makes screws easier to drive.
- Reinstall the bracket, insert screws or bolts, and tighten firmly but don’t over-torque, this can strip threads or crack drywall.
- Check the rack’s stability by pressing down gently before loading it fully.
Over-the-Door and Adhesive Racks:
Clean and dry the surface thoroughly. Dust, grease, and moisture are the enemy of adhesive strips. Let the strips cure per the manufacturer’s instructions, usually 24 hours, before loading. Don’t exceed the weight rating: these racks aren’t forgiving if they fail.
Freestanding Racks:
Level the rack on your floor or cart before placing items on it. Uneven surfaces cause wobbling and safety hazards. If your kitchen floor is sloped, shim the feet with thin cardboard or plastic shims.
Safety and Tools:
Wear safety glasses when drilling into walls. Use a power drill or cordless drill-driver for faster work, though a hand drill works if you’re patient. For heavier racks or studs, a stud finder is worth renting ($3–$5 at most tool rental shops) rather than guess-and-check. Keep your fasteners organized and double-check before you drill, holes in drywall are easy to make and annoying to patch.
Works by professionals in hanging storage solutions demonstrate how thoughtful installation prevents disasters. Test your setup by gradually loading it rather than dumping everything on at once. Observe for any sagging or movement over the first few days.
Conclusion
Kitchen storage racks are affordable, flexible, and genuinely useful. Pick the right type for your space and load, measure carefully, and install securely. A well-chosen and properly hung rack transforms a chaotic kitchen into an organized one, without requiring a renovation or a contractor’s invoice.